So, what do you need to make a wet palette? Not a lot, and most can be "borrowed" from a kitchen.
First up, you'll need a plastic "Tupperware" container with as close to an airtight seal as you can get. Some people make their palettes quite thin, but I've gone for a reasonably deep one (with Wight King for scale)
Step 1: Add sponges to the container. This is why I went for a deep container - it's the right size to have sponges and additional layers of tissues.
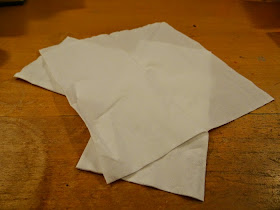
Step 2: Add tissues. I've got three in here, folded and tucked into the sides providing an even coverage across the sponges.
Step 4: Remove the grease proof and add water. The amount will be different depending on the size of the pot, but this one took maybe 150ml to get to a stage where the tissue and sponges were soaked and there was a little more water not soaked up. You can see from the picture of the bottom of the container that there is still liquid running around, as there is in the top picture (bottom left of it).
Step 5: The final stage - Add the grease proof back on top of the tissue. This is the surface you will be mixing paint on.
Once you have that, you're done! Just start using it as you would your normal palette and when you are done, just stick the lid on it.
Once I've had a proper play with it for a while, I'll let you know how I get on with it.


Nice. If wax paper let's you down look for a similar paper that is brown called baking paper. Martha Stewart has a nice one but less expensive options are available from baking/cake supply places o_O I just saw this one fro the coming warm weather...
ReplyDeletehttp://www.coolminiornot.com/articles/8388-the-ice-palette
Cheers Zab. I had some brown paper as well but they were very similar if not identical in texture so went for the grease proof as that seemed easier to cut being in sheets not on a roll.
ReplyDeleteThat ice cube tray is pretty nifty though it probably doesn't get warm enough where I am to give it a try out at full effectiveness.
Ah well I'll let you know how the ice thing works :) I love to work outside in the summer but to get nice work done i have to stay indoors most of the time due to the quick drying nature of acrylics... maybe those days are over. Now how do you make sick days seem convincing in the summer...
DeleteGreat idea and great tutorial....i say the best tool added in my arsenal for minis painting has to be the wet pallette. I ended up buying a masterson's wet pallette around 5 years ago and will never look back.
ReplyDelete