One thing that is always
Pond or Lake scenery (finished to final paint)
Envirotex
1oz mixing cups with measurements
Wooden or Plastic Stir sticks
Windsor and Newton Ink (for sure other
Small Syringe (needed for
Xacto Knife
Here
Straws with bends (if you want dripping sludge pipes)
Gorilla Glue (if you want dripping pipes)
Pins (for securing details on pipes)
Other details for the living pool (the sky is the limit here, think outside the box for whatever themed scenery you are building
Toothpicks - If you want oil slicks or blood trails these will be required.
1/8th" square drywall tape - For
Step 1 - Making the Pond
I use 1" polystyrene insulation for building the ponds. I always make more than one
Here is the planned piece drawn with
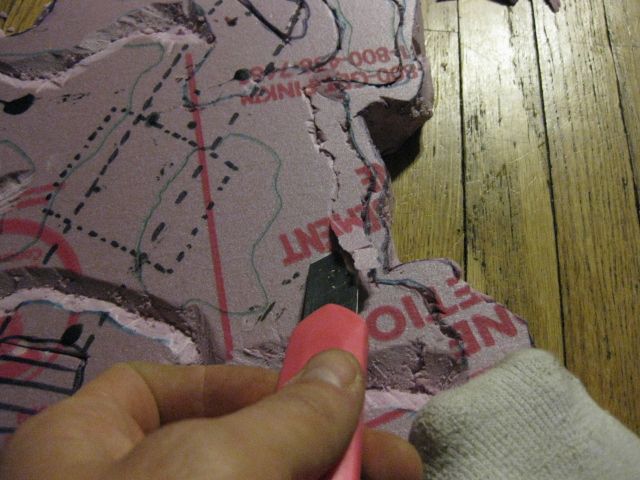
Cutting a
Cutting a deep bank.
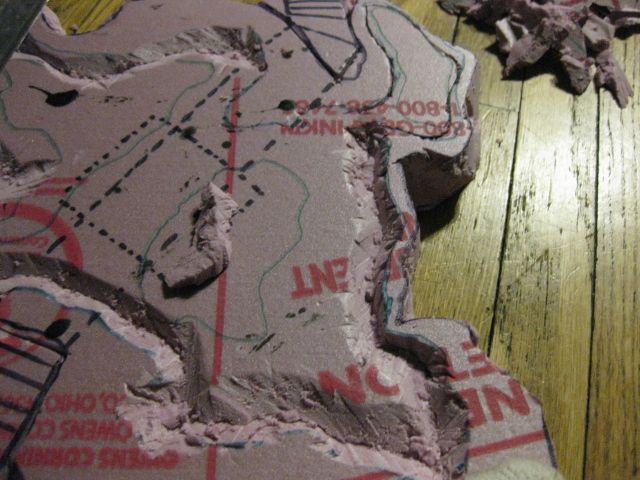
Making the outer edge of the pool
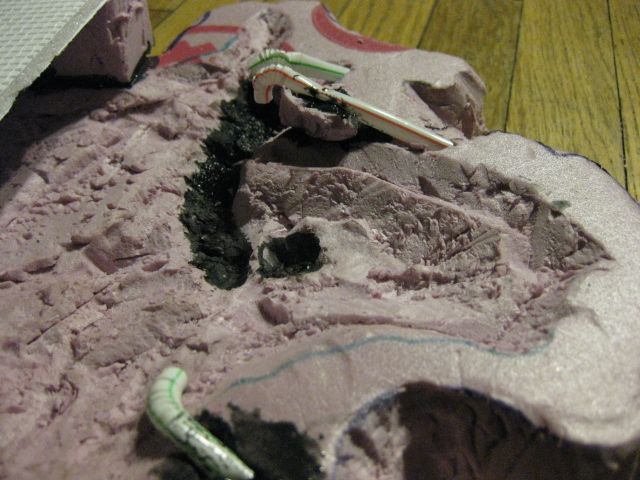
Outer banks taking form.
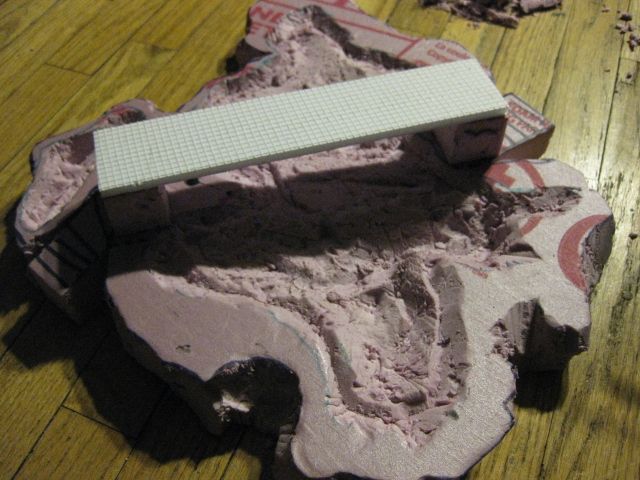
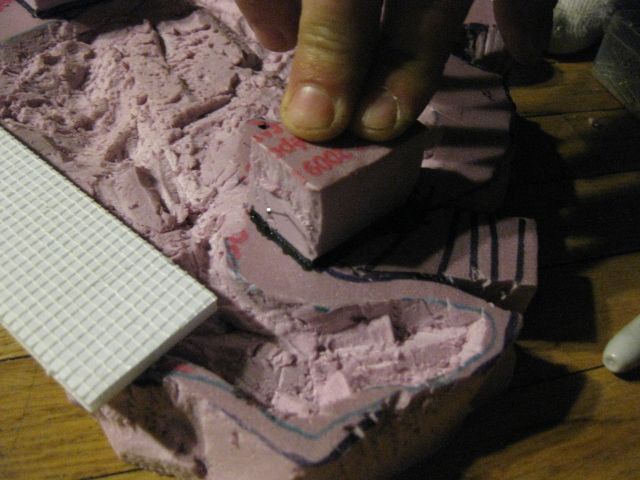
Walkway dry fit.
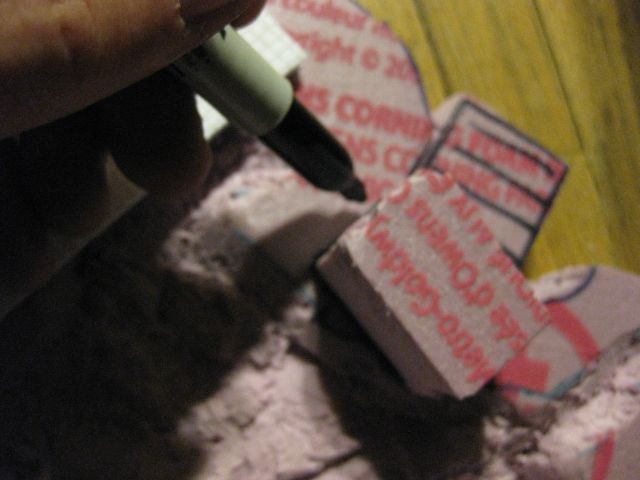
Using a marker to draw around
Black tinted glue ready to place.
Perfect placement thanks to the marker. Drove a couple of pins angled in through the sides of the walkway supports to keep great contact when drying.
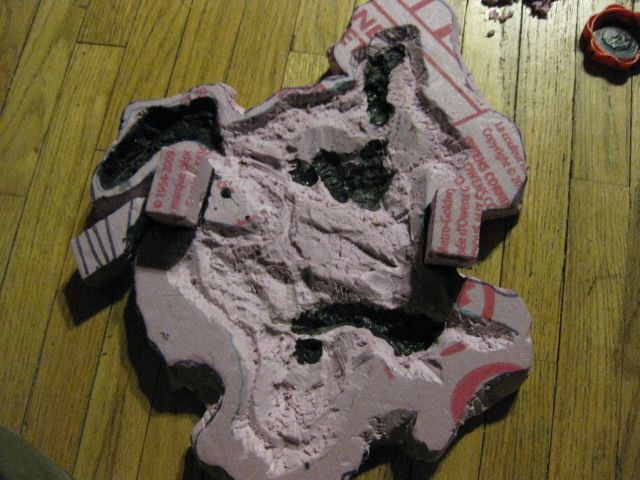
Very hard to get pics of the deep spots in pink foam so I put in some excels black glue to show the deep spots.
Step 2 - Pipes
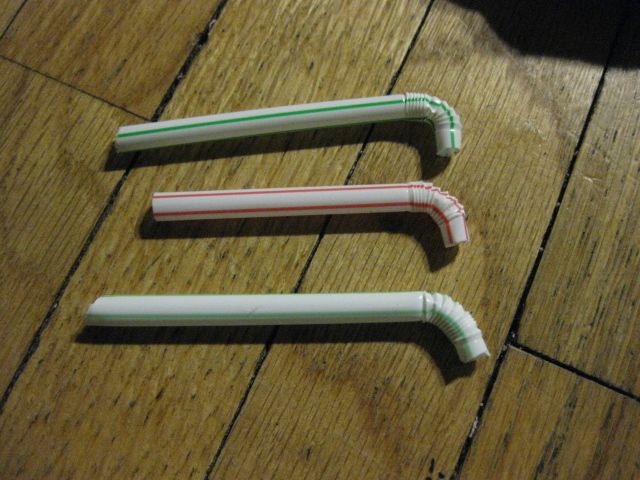
So now is the time to plan details such as pipes. Always check your details before gluing. Any details that will be exposed to view submerged in
Great pipes.
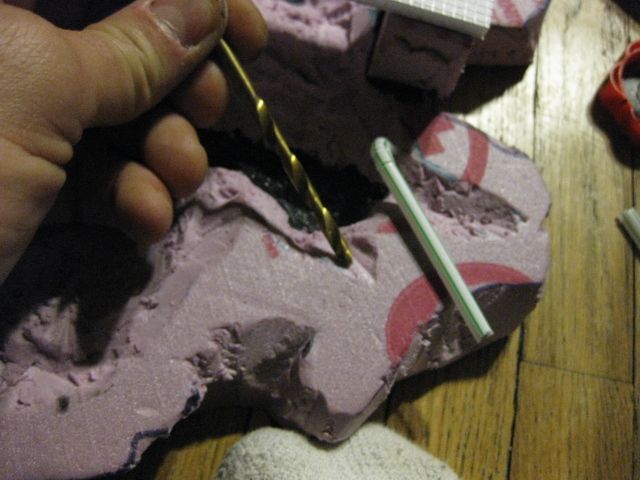
Preparing to hand drill the pilot hole for my first pipe.
All 3 pipes in place.
Happy with
Step 3 - Basecoating
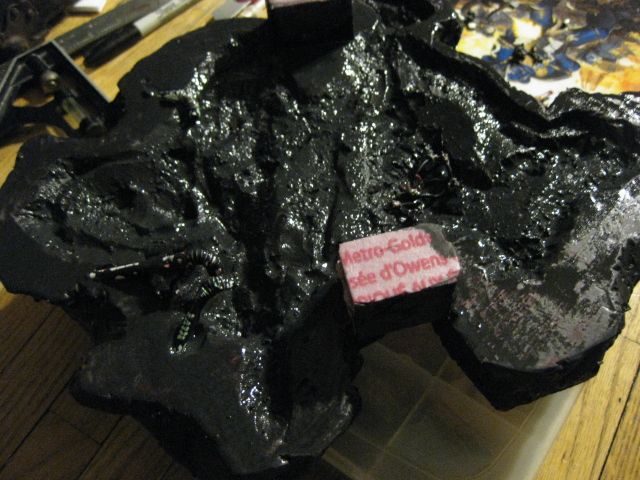
I tint my favorite PVA glue(weldbond) with black craft store acrylic paint and slightly water it down before application. I then paint the entire surface of the pond with the black PVA and let dry for a couple of hours. Then repeat the process 2 more times for added durability, but I avoid doing the basin as the durability is not needed as long as the basin is black. Getting the PVA glue to stick to the straw pipes is a challenge. A light sanding of the pipes with 280 or higher grit sandpaper will help adhesion.
Fresh base coating with black PVA.
First coat dried.(4 hours later)
Step 4 - Painting the Pond
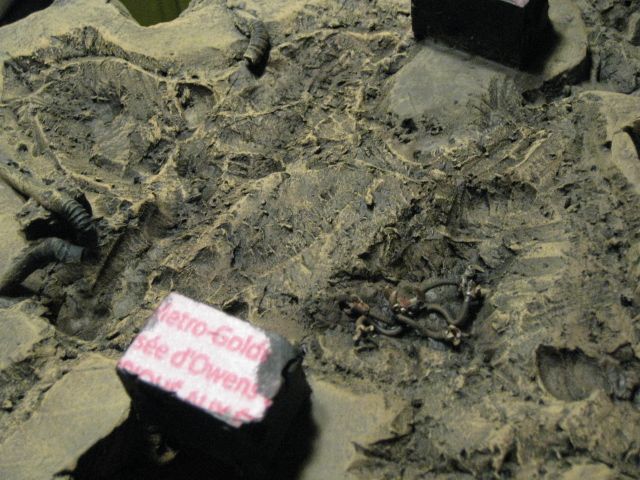
Paint your scenery in colours suitable to your theme. I use acrylic craft store paints(art deco, acrylique, apple barrel) for this stage. On the outer banks of the pond drybrush with a darker base colour and then more lightly drybrush using a lighter shade. Add a bit of white into your highlight shade and drybrush very lightly on the most raised peaks of the outer banks. To paint the basin follow the steps but gradually use less and less highlghts as you go deper into the basin. This will add to the illusion of depth. If pipes are present start with painting the pipes tin bitz and then drybrushing with silver. If you want a rusted appearance,lightly stippled oranges and browns will work great.
Base paint done.
Highlight done.
Step 5 - Piping the sludge (Optional)
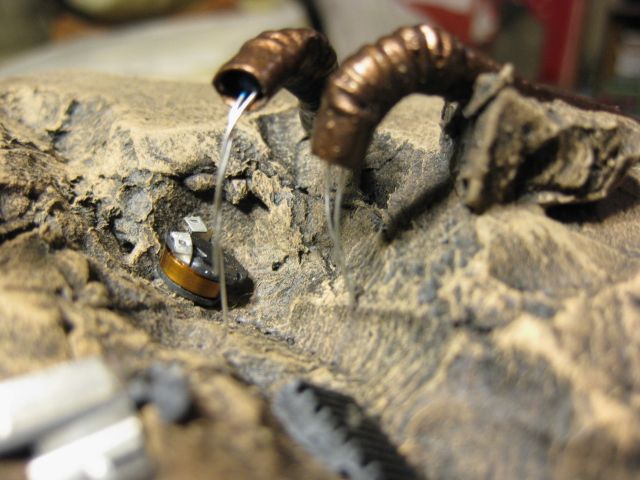
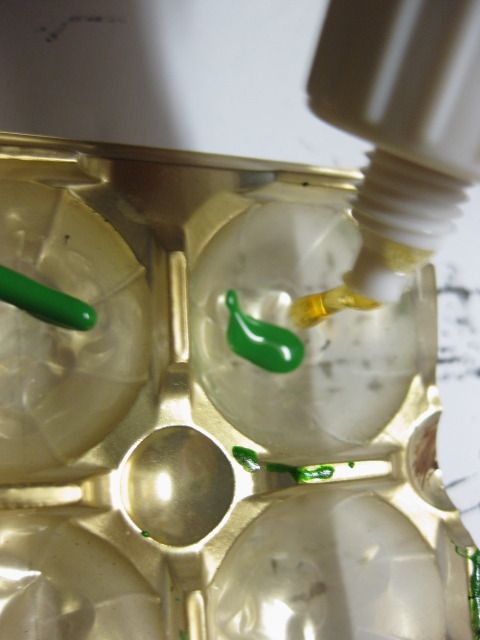
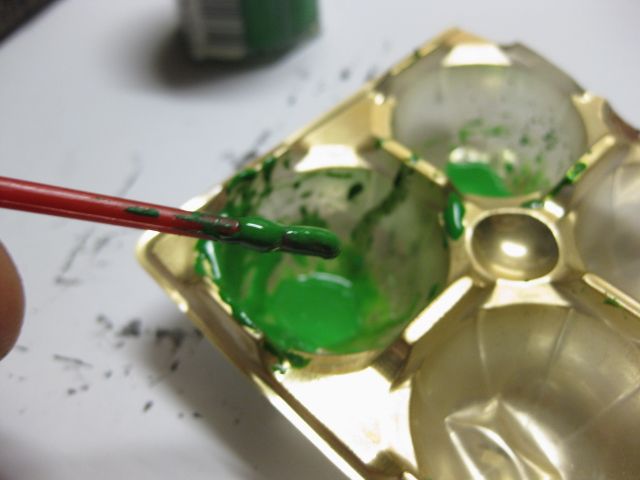
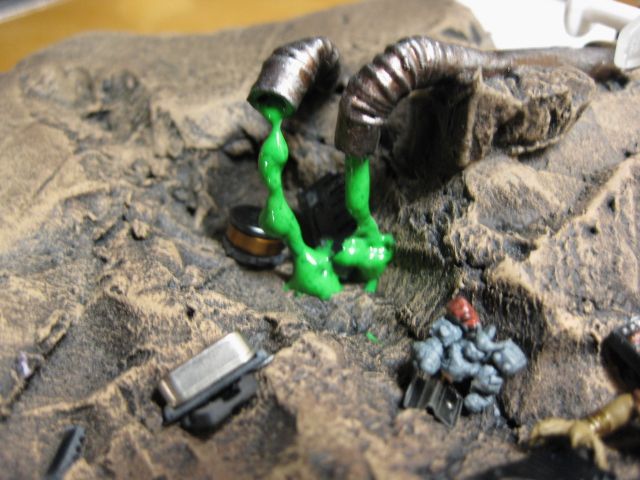
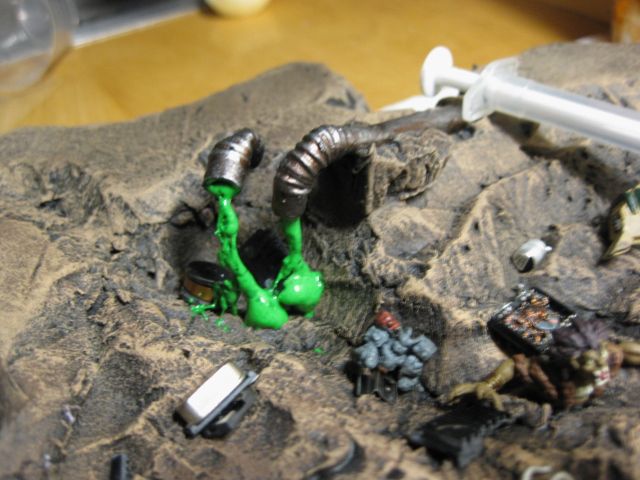
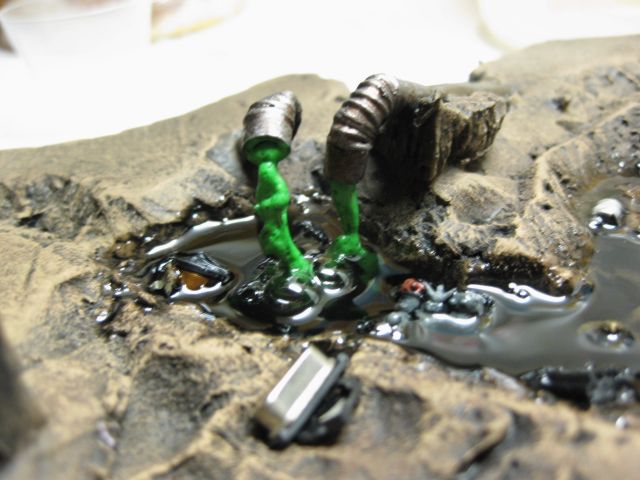
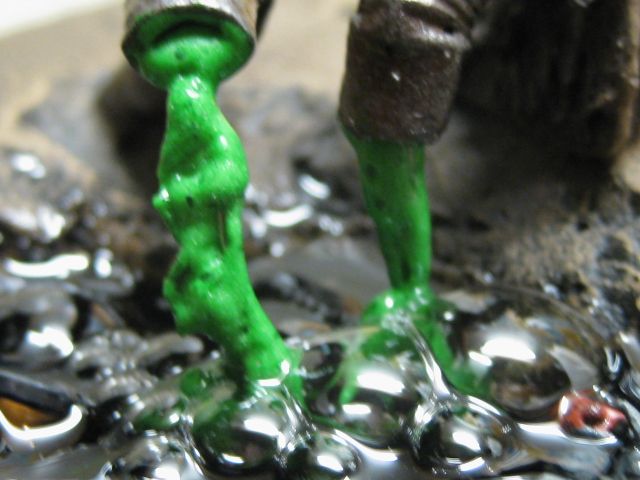
If you installed pipes and want them to be dripping sludge into the pool you need to first insert a few strands of light wire into the open end of the pipe Glue the wire in place with pva and make a gentle flowing arc and let dry. Grab your gorilla glue and mix two drops of paint(dark angel green, scorpion green, snot green all work well) with a drop of water with an equal amount of glue. This mix will increase in size approximately 3X. Apply around the wire and open end of the pipe.
Dry fitting the sludge wire.
Sludge materials.
Dropping the Gorilla into snot green paint.
Mix it up!
Applying to the wire.(you don't know how hard it is to try to hold the camera perfectly in macro mode still in one hand and trying to apply the mix in the other...lol)
Mix expanded after 15 minutes or so.
Wasn't super happy with the way the mix looked so I used a toothpick to give it some texture.
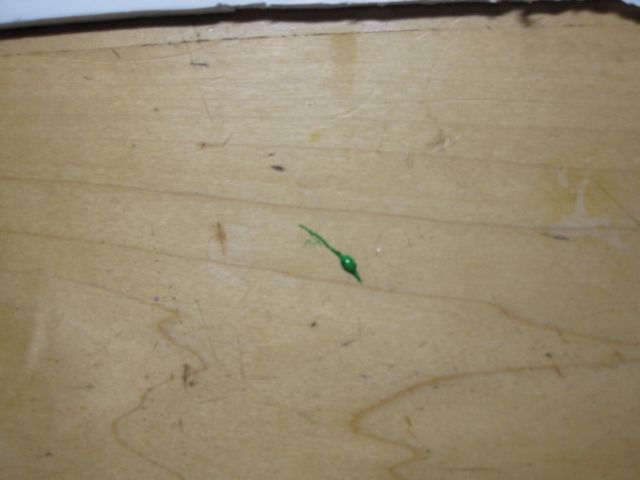
Don't screw around with gorilla glue or envirotex. If you see this on the counter drop anything and clean it asap. Once cured this and etex is super hard to clean and the wife/mom/gf will be pissed. :D
Step 6 - Planning the small details
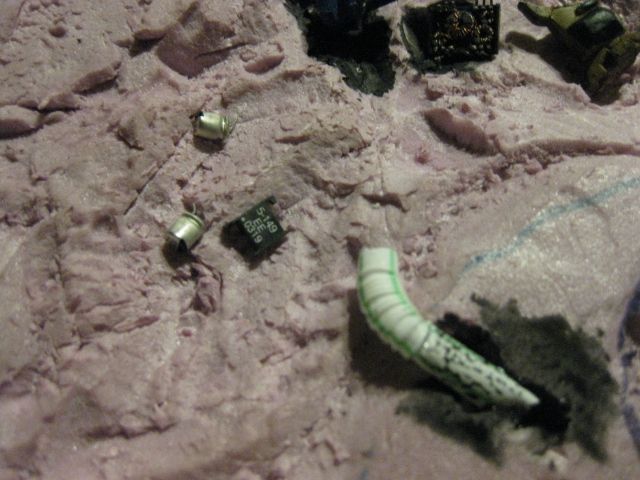
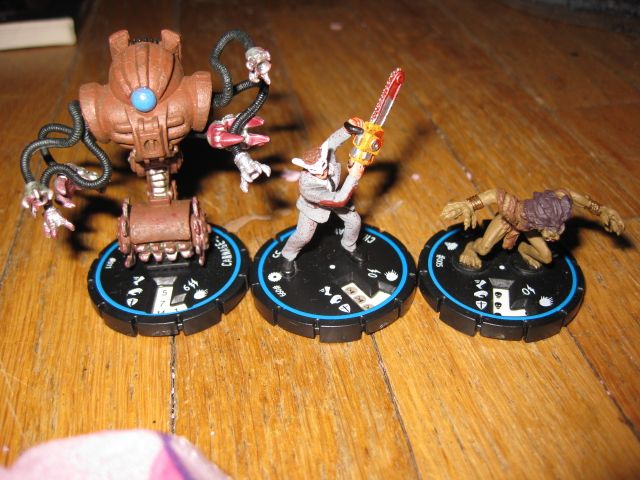
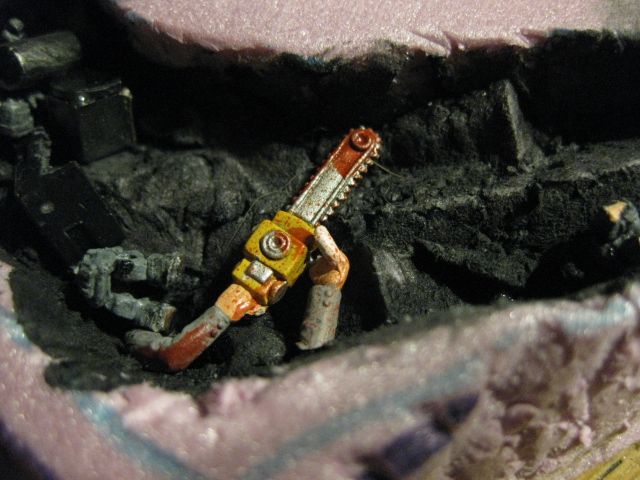
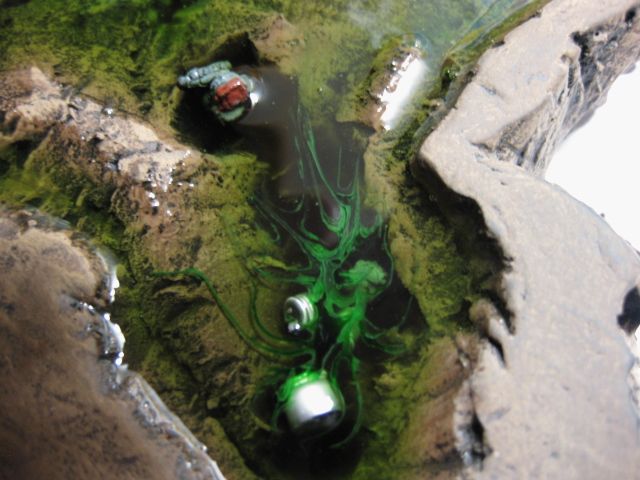
Its the small things that really make a scenery piece amazing in my eyes. As this pond I am making is a futuristic piece to go with a mess of other scenery I am building I went with the same theme using small computer bitz(transistors, resistors), pre-painted MechWarrior figures, prepainted horrorclix figures(chainsaw, mechanical tentacles and the wild eyed guy rising from the depths). Now I decide where I want my bits and what pieces will be "sinking into the depths". As I wanted to show many effects on this single piece of terrain, I loaded it with many different items(experimental bubbles out of the rising wild eyed man, oil slicks from the cans, blood trails from the chainsaw) At this point I have put just under 4 hours into this project. (not including tutorial time)
Horrorclix used in this project.
Chainsaw
Step 7 - Pouring the Basin Floor
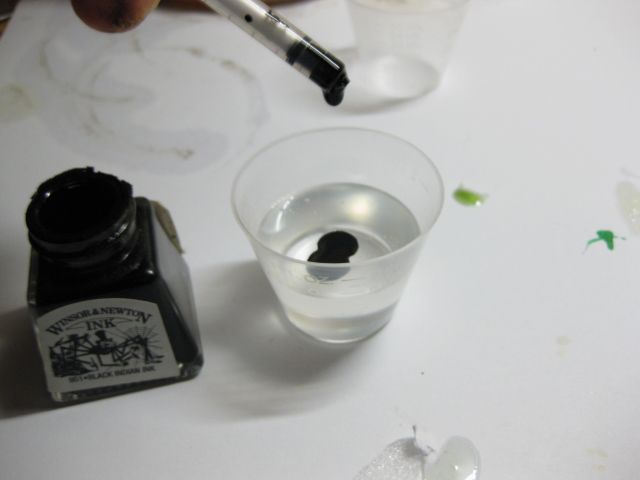
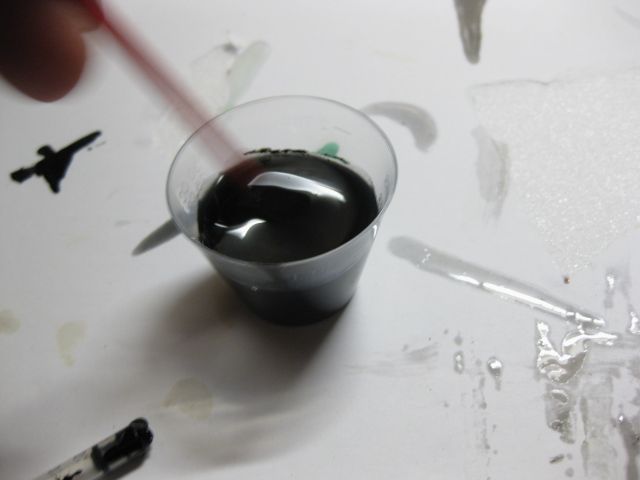
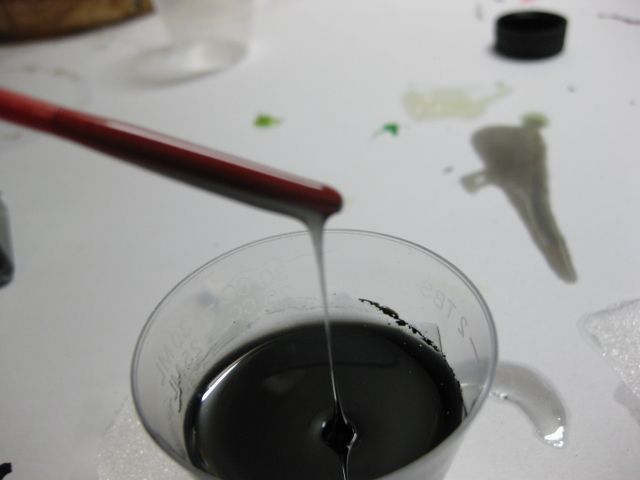
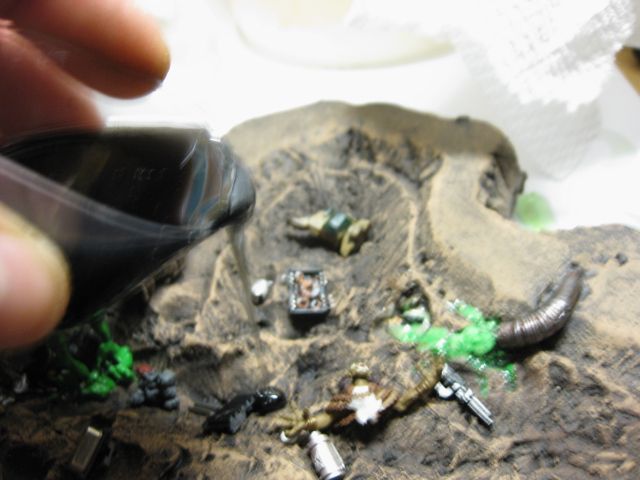
I pour my resin in 2-3 layers, usually only 2 unless I didn't mix enough resin or am adding oil slicks or blood trails. The first pour(basin floor) is always tinted with black ink. This gives the illusion of being bottomless, and unless you want a shallow pool this step is needed. So take your mixing cup and measure out 1:1 from the two bottle of envirotex. I usually mix 1/2oz from each bottle depending on the size of the pool, but for the black tinted stage 1 full ounce might be too much for 2 pools. Always better to mix too little than too much as any unused laquer will go to waste and its extremely difficult to judge how much to mix. So make 4 pools at once so you don't waste the precious resin. So for one ounce of enviotex I will add 3 drops of Windsor + newton black ink. Mix the batch together for 1 minute making sure it is mixed well. Carefully pour enough resin in the deepest part of the pool to make it 1/4" deep or so. Take note how it takes the resin 15-20 seconds to level out. As envirotex is a self levelling laquer, unless your curing surface is completely level the resin will cure at an improper angle. After the basin floor is poured I let the resin cure overnight, but first make sure you place your details before you let the resin cure!
Dropping my third and final droplet of W+N black ink into 1/2oz of envirotex resin.
Mixing the ink into the resin.
Checking the stir stick for colour consistency and clarity. Once this is done I will add the proper amount of hardener and mix well. The ink will help visually to see when its mixed well.
Pouring the deepest parts of the pool.
Step 8 - Fading into the Depths Details
This step time is of the essence. Since the resin is mixed you only have a limited amount of time before the resin cures. No need to really rush though even placing details on four pools at once is fast especially since you already have your details planned. Once details are set leave overnight to cure. As the resin cures you will likely notice small bubbles in the resin, usually bubbles pop on their own but sometimes they don't and cure. To make the bubbles dissipate a deep exhaled breath 5 minutes and 10 minutes after pouring will make the bubbles disappear. Now....if you want to add additional bubbles into the resin this is almost the time. All you have to do is impregnate the resin with air using a tiny needle in a syringe. But....first you have to wait around 1.5 hours for the resin to slightly cure otherwise the bubbles will just pop on their own. Take note that bubbles made this way always seem to be fairly large in size.(usually around 1/8" to 1/4" diameter)
A couple of bubbles impregnated with the needle.
Loaded the area around the pipes after a few more minutes of impregnating. Pics taken while resin was still wet. Left for 20 hours to cure after
Step 9 Pouring the midlevel resin
If you don't want blood trails/oil slicks skip this step and move to Set 11- Top water pour.
Mix 5-6 drops of W+N Apple Green ink or 5-6 drops Brick Red with 1oz of envirotex. Mix well and pour around 1/4" deep trying to pour away from the edges as much as possible. Try to cover the surface area but again avoid the edges. Let the resin flatten out for a few minutes before adding you ink droplet.
Poured an ounce which wasn't enough. As I was fast in the mixing and pouring, I was able to reuse the mixing cup and made another ounce up quick.
Poured in a second ounce and let it flatten out. I then hurried onto step 9 as time is of the essence.(around an hour)
Step 9 - Oil Slicks n' Blood Trails (Optional)
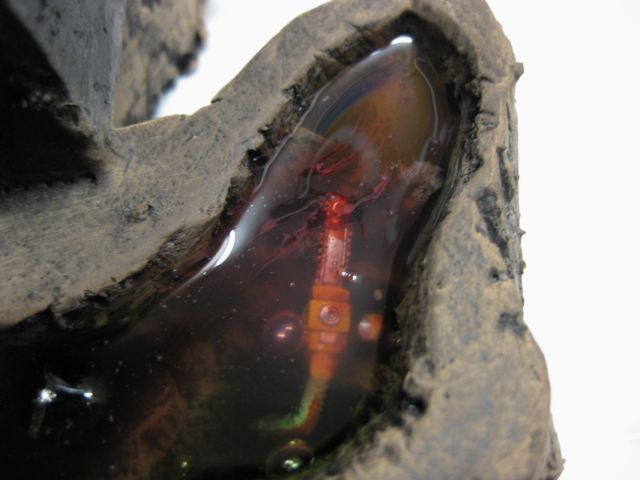
If you want oil slicks or blood lines now is the time. Now is the tricky part. Wherever you would want the slick/blood to be thickest(usually around sludge, oil can, or dead body) carefull drop a single drop of ink into the wet resin. Now hold the droplet of ink with one toothpick and slowly drag the pure ink along the surface of the resin to trail it out with another toothpick. Once desired effect is achieved let dry overnight. To obtain 2 tone water (like the red chainsaw surrounding water) then simply mix a small batch of red and simultaneously pour the 2 colours, then use a toothpick to drag the colours into each other.(not that easy..haha)
Oil Slick around gas cans after ink droplet is pulled around with toothpicks.
Blood stained water and blood trails around chainsaw.
Step 10 - Bubbles (EXPERIMENTAL - SEMI TESTED)
Sometime when you insert certain objects the resin traps air pockets and make trails of bubbles which can look incredible. I've thought of a pair of ways it might be possible to make this effect on demand, but I only tested the needle impregnated air so far. First is simple, with a syringe/needle insert into wet resin and blow air bubbles into desired area. Yeah it works!! The only trick is you have to wait until the wet resin is slightly cured or the bubbles will pop and not hold their form(seemed to be 1.5-2 hours after pouring). This technique makes bubbles around 1/8" to 1/4" diameter. The second would be tiny pieces of Alkaseltzer or possibly tiny mixes of baking soda/vinegar. Both bubble like crazy....same in resin????? PLEASE PM OR EMAIL ME IF YOU HAVE HAD SUCCESSFUL or UNSUCCESSFUL RESULTS WITH INTENTIONAL BUBBLES.
Step 11- Top Layer
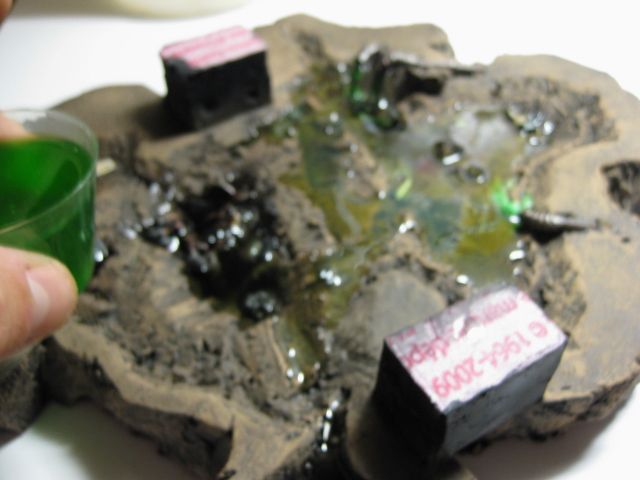
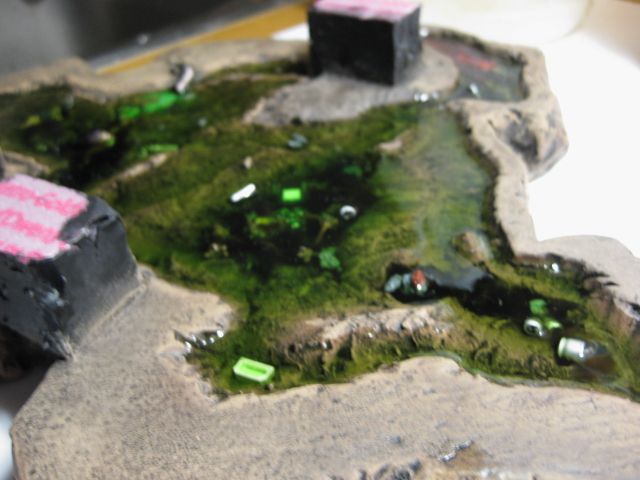
Mix 5-6 drops of green or red ink per ounce. Mix well and pour avoiding the edges as much as possible. This is the step where its crucial to not over pour. If you pour too much resin at this stage in an area it will roll up on the edges of the banks and give a fake appearance. This is due to the thick syrup like consistency when you pour(before the resin becomes completely flat). So try to pour more resin with a wide surface area, and pour much less in narrow areas with less surface area. I like to pour in the resin up to about 1/8" from the top of the bank. WHATEVER YOU DO, DO NOT OVERPOUR THIS STUFF OVER THE TOP OF THE BANK. ONCE ENVIROTEX CURES IT IS NEAR IMPOSSIBLE TO CLEAN OFF ANY SURFACE. You can wipe it with a paper towel or piece of cloth before it cures but once it does cure it's as hard as a rock.
And that's all there is to it....lol







Good read, photos not working though o_O
ReplyDeleteWelcome RedSkullz!
ReplyDeleteIf the photos aren't quite right when I get back from work I'll have a shot at sorting them out.
Sorry Zab - I am a complete noob at blogs so i'll get it figured out. Thanks for the comment and thanks for the help Bramble!
ReplyDeleteNo prob! That looks great :)
Delete