

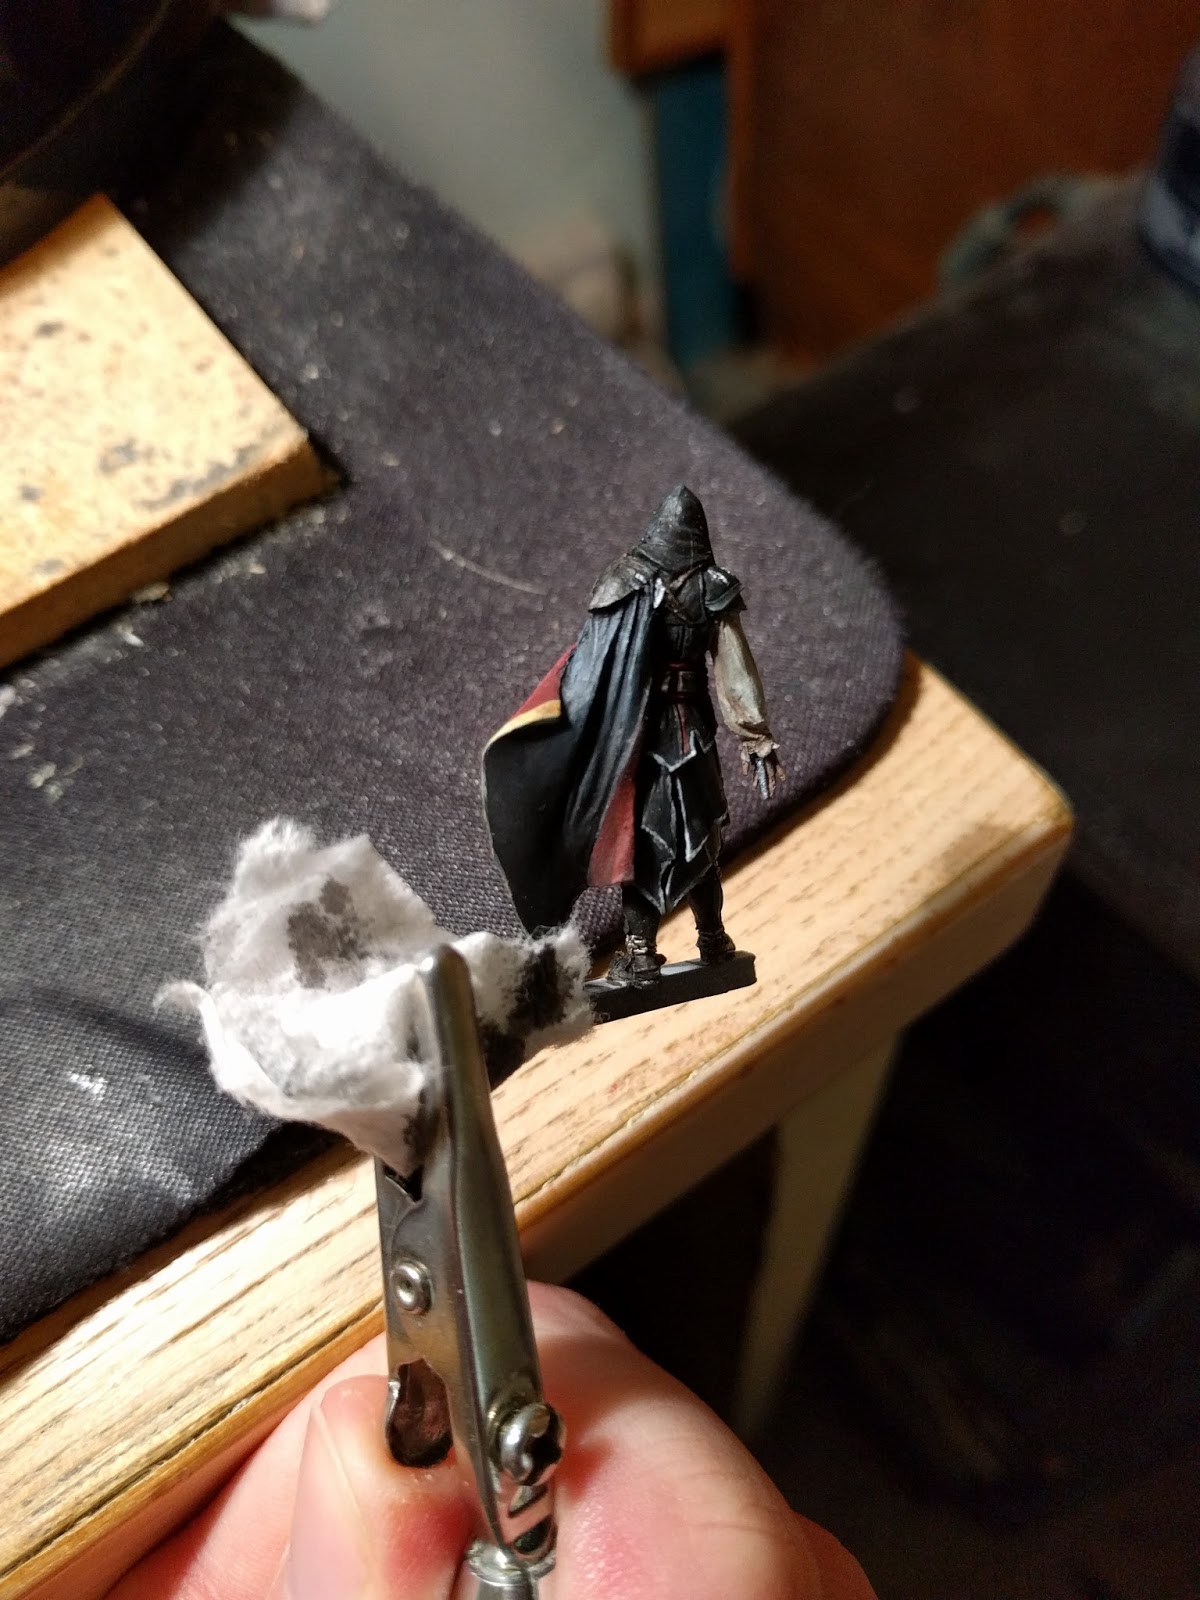
Continuing on with the Assassin it's about time we
actually....continued on with the assassin! Here is a refresher of
his state last time we left him. Some areas still just primed, plenty
of work to do.

So first up the trousers, they're horribly white still and I like to
get colours on every part of the model so I can see the overall
picture and where improvements are needed. I used a reddy brown (Tank
Brown from Vallejo mixed with a little black to darken it)

Metals, as usual I used my favourite Scale 75 sets. Heavy Metal with
a touch of blue for the shoulder plate and various buckles and
things. Thrash metal for the chest piece and boot buckles.

I used the non metallic set to do the trim on his robes, just a fine
brush and some patience. You can see I've also started glazing on the
previous metals to add some contrast. I've also added the golden trim
to his shirt collar. Here's the reference image I've been working on
so we can see how we're doing.


Not bad! I won't be doing the detailed freehand on the boots or the
robes because frankly I'm not sure I can and the model is tiny! Maybe
if he was a larger scale.
Here's a look at the shoulder piece, using glazes of Dark Sea Blue
and highlights of Speed Metal to help really push the contrast.

I decided to add a trim to the cloak. Although the reference image
doesn't have one I think it needs something to balance the mini and
add a bit more detail ( it is a competition piece after all) I used
the S75 NMM gold set, it has a range of really nice browns and
yellows that are perfect for this. I started off with a thinned down
coat of Tenere Yellow to make sure I got the overall shape blocked in
before I added detail.

I then...forgot to take in between shots, I got carried up in the
process! I put the colours (White Sand, Tenere Yellow, Sahara Yellow
and Dubai Brown on the wet palette and just worked with thinned
glazes until I was happy with the lighting. I darkened the inside of
the 'red' side of the trim and added a fine line of Tenere Yellow to
give the impression that the trim is slightly raised from the cloak
itself.

We're getting there but it still needs more contrast, always more
contrast! I went back on the cloak and really pushed the highlights
along the fold, almost to pure white on the trim.


Next week I'll talk about the final bit, the wooden beam and then
showcase the finished model. I've been unusually prolific recently so
I'm well on the way with my next piece! I do have a couple of
unboxings/reviews I'd like to do as well so perhaps those will come
in between.
As always any questions or constructive criticism let me know in the
comments. I hope you are enjoying these journal style entries but if
you want me to go into more detail on a particular topic let me know
and I can dedicate an article to it.